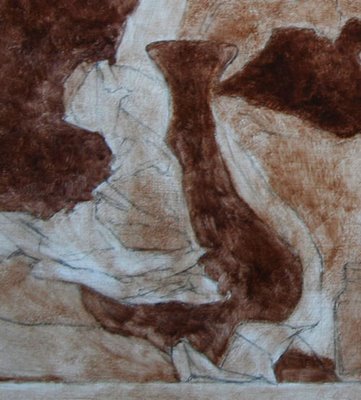
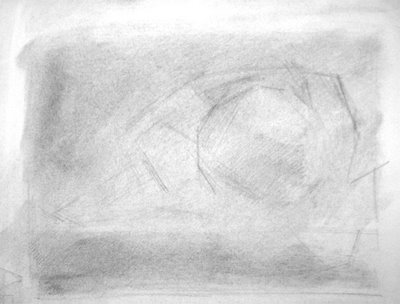
 Contour drawing for Globe Pitcher
pencil on (wrinkled) trace paper
16 x 20 inchesAfter completing my
small 8-inch value sketch, I began a full-size contour drawing of my subject at the actual size I will paint it. And I immediately ran into a problem. The proportions of my small drawing were not exactly the same as my 16 x 20 inch panel. And also, the composition I had sketched small, once blown up would require me to paint the pitcher huge, larger than it is in real life.
So even though the composition looked nice in the sketch, the larger scale made it look overwhelming, way too big. There's a lesson in here.
It's a change for me to paint this big. The previous paintings in this "Wax Paper" series are 11 x 14 inches and 12 x 12 inches. So 16 x 20 is a HUGE leap. It may not sound much bigger, but to me it's enormous. This is the problem with blogs... there's no sense of scale.
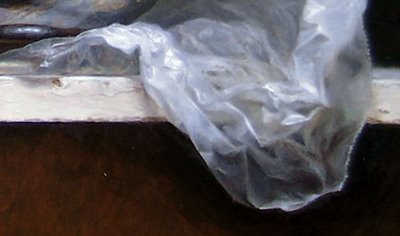
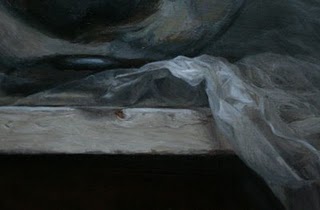
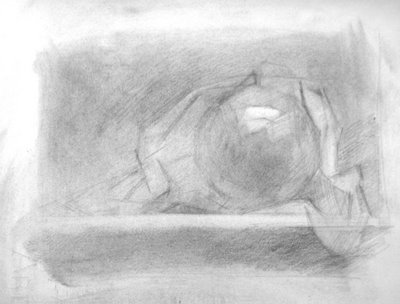
You'll also notice the left side of the crumpled wax paper has a new shape. I decided it looked better if it angled up at the left, instead of tapering down and to a point, running off the left into infinity.... So I crumpled up the wax paper on one side (gently) and altered the composition.
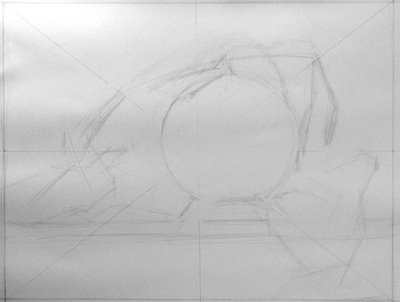 contour drawing phase 1
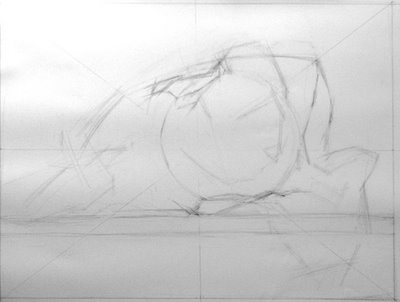 contour drawing phase 2
 contour drawing phase 3
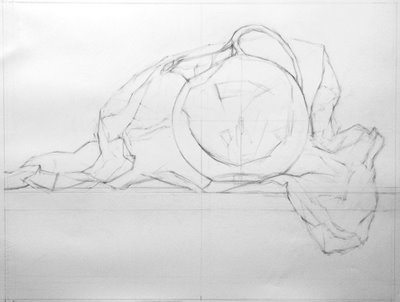 contour drawing phase 4
contour drawing final I've drawn the final version on trace paper so I can transfer to the gessoed panel. I usually draw directly on the panel, but since I labored so hard to gesso them so perfectly, I was afraid of dinging or marring the perfect surface with a lot of erasing. So I nearly finalized the contour drawing on paper before transferring it.
As an final note, I'd love to draw your attention to this hi-LAR-ious blog entry by an abstract painter who says, in part:
"...what’s so hard about painting a realist painting nowadays, when even a no-talent can transfer images and paint textures straight from a computer to a canvas?"
To which I nearly choked, as you can imagine. Laurie Fendrich, I sure hope you find my link to your two posts on the superiority of abstract painting to realist painting, so you take a good look at my blog here and see that realist painting takes quite a bit of study and work, even "nowadays".
Post # 1 in which Ms. Fendrich describes her irritation at having been "duped" to admire the "abstract" work of a 3 year old
Post # 2 in which Ms. Fendrich has to respond to the tempest of comments she recieved on her first dip into the abstraction-versus-realism fire pit
Oh, and especially note the parts about how the Old Masters used optical devices, implication being that anyone with a lens and a grid could have produced the masterworks of art history.
Le sigh....
----
See the previous blog post about this painting here.
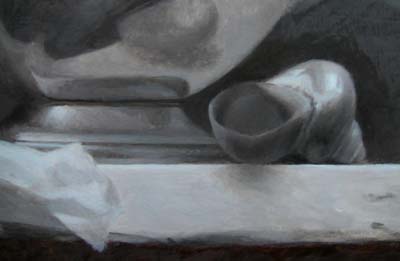
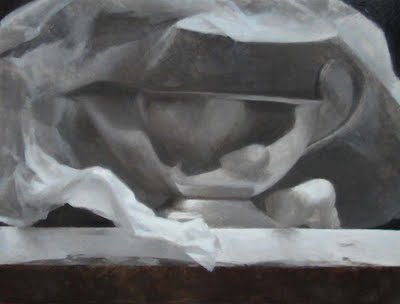
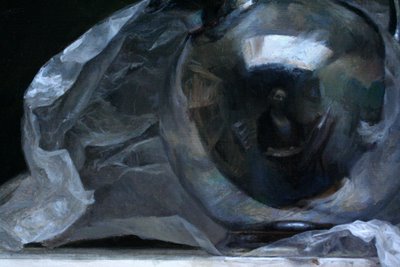
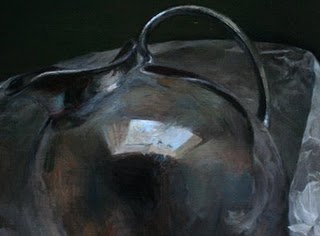
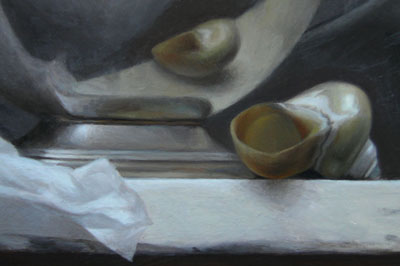 Sterling Boat - DETAIL - work in progress9 x 12, oil on panel
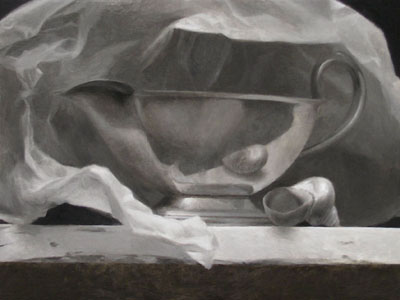


