 I thought I'd give a little introduction to the palette I use and how I mix my colors.
COLOR THEORY
There are many different color theories - models and philosophies for understanding how color behaves. I use a methodology of color mixing that I learned from my great and most influential teacher at RISD, Anthony Janello. Tony however might cry to see what I have done to his beautiful color system, as I use it to mix up mainly grays, while he is a high-chroma colorist. I can't find any of Tony's paintings online, but I did find a recent student of his who posted the kind of color studies I also did in his class.
As my approach has evolved it's become my own and I don't think any of my teachers would appreciate me crediting them with my color handling, as I basically create monochromatic paintings. But you could use the same fundamental color theory to make highly chromatic paintings, it's all in the proportions.
PALETTE
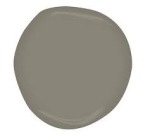
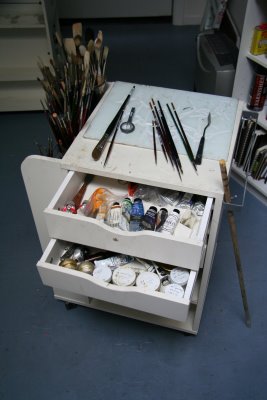
 My palette is limited, essentially primaries: a red, a yellow, and a blue, plus a couple others that I've discovered save me time, plus white. I arrange my colors is roughly rainbow order, and I always put them in the same order. The specific colors I use evolves all the time, but right now I'm using these (as seen left to right on my palette above).
titanium white (two puddles in case the first gets contaminated)
magenta
cadmium red
cadmium orange (I use it as a yellow)
yellow ochre
sap green
cobalt blue
ultramarine blue
mars red (actually a rich brown)
A note on black: I don't use it because it makes more problems for me than it solves.
A note about "red" - the red we were taught in kindergarten to mix with blue to make purple does not work. Magenta is a "true" primary color, meaning you can use it to mix a secondary color. Magenta is my "red". Cadmium red is really an orange, and mixing it with blue makes mud.
MIXING
For purposes of vocabulary:
Hue is color
Value is light and dark
Chroma is intensity/brightness
Any swatch of color can be defined by it's hue, value, and chroma. When you mix any two colors together, the chroma/intensity is always reduced - a bright yellow and a bright red will make a slightly less intense orange. Different hues also have different values. So the complicated thing about color mixing is how to get the color/hue you want while also controlling the chroma and value.
 Before I start painting I mix up a few puddles of dark paint and light paint for the areas I'll be working on and make some 5-step chains of puddles between the darks and lights. Mine are neutral (low chroma), but you could use highly chromatic/colorful chains, too.
To start mixing, first I choose the value puddle I want, and then if the paint mixture is too red, I mix in the complementary or opposite, green; if it's too purple I add yellow, if it is too blue I add orange.
Any two colors mixed together will lower the chroma/intensity. So any two colors opposite each other on the color wheel will essentially cancel each other out. I use this "canceling out" to mix subtle shifts between hue, value and chroma. Memorizing the color wheel is the most helpful thing you can do as a painter.

With this method I can mix subtle shifts of hue, value, and chroma. I essentially visualize the color space in 3 axis of dark to light, intense to less intense, and one side of the hue to the other - blue and orange for example. I picture my puddle of paint where it exists in my color model, and "push" it around the three axis: darker or lighter, bluer or more orange, more chromatic or less chromatic.
Different colors also have different values right out of the tube. So if I am mixing a dark neutral, and it is too blue, I don't mix in a high-value orange like a cadmium, because the value will lighten while the chroma decreases.
Which is why I like Mars red - I use it like a low-value orange. I use sap green for the same reason - it's a higher chroma green than what I can usually mix, an I use it to "cancel" with magenta, cadmium red, or mars red.
I use two blues for the same reason - both are high chroma, but one is much lower value, so I use ultramarine for low-value mixtures, and cobalt for high-value mixes.
After a while the system becomes intuitive and you don't think about it much while you paint. But I still sometimes get stuck and have to ask myself "what color is this paint?" to notice it is purple, and I better add in some yellow or I'll end up with a purple painting.
A note about paint quality:
It's always worthwhile to buy high-quality paint. The cheap tubes simply have more oil and less actual pigment, so you use more paint anyway.
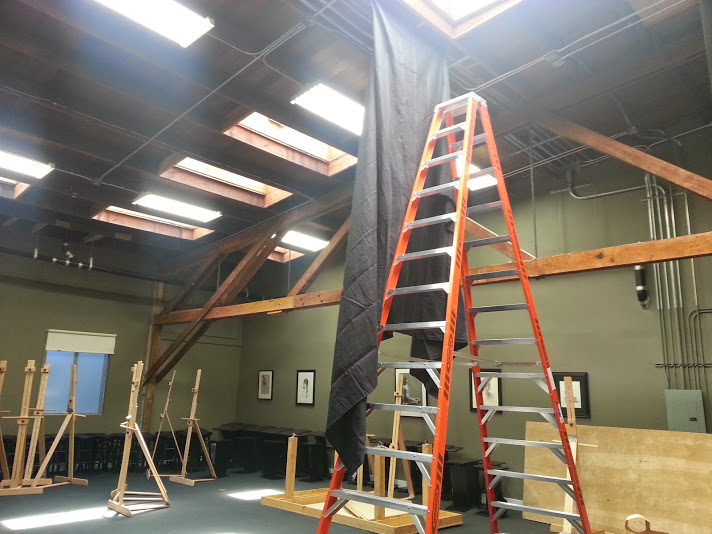
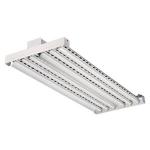
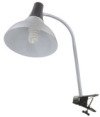
A note about lighting:
Light is very very important. If you paint under a normal lightbulb, the yellow tint will distort your perception of all the colors. The more I paint, the more I find the only true light is indirect daylight (north light). At the very least, paint with a full spectrum, daylight, color corrected lamp designed specifically for artists for shining on your easel. However, you can shine any color light you want on your subject, as demonstrated with magnificence by Dan Thompson.
For more color theory:
Munsell is a great introduction for understanding hue, value, chroma, although I don't follow the methodology. I posted their chart above.
Handprint is an amazing site for understanding the science and practical mixing of color. It's focused on watercolor but much of the information applies to paint of any kind.
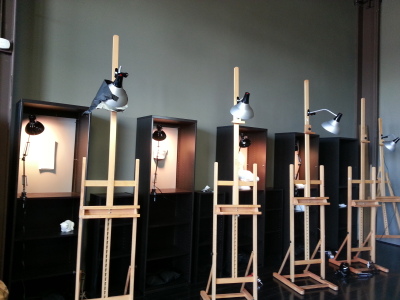
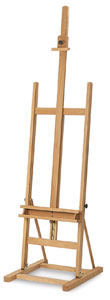 H-frame Winsor Newton Shannon Easel
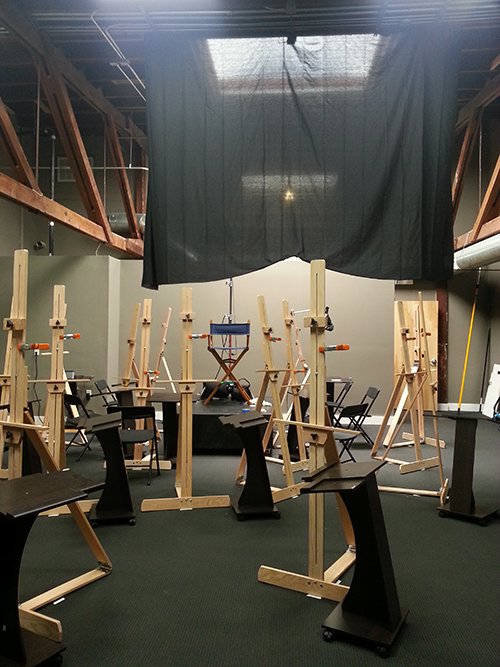
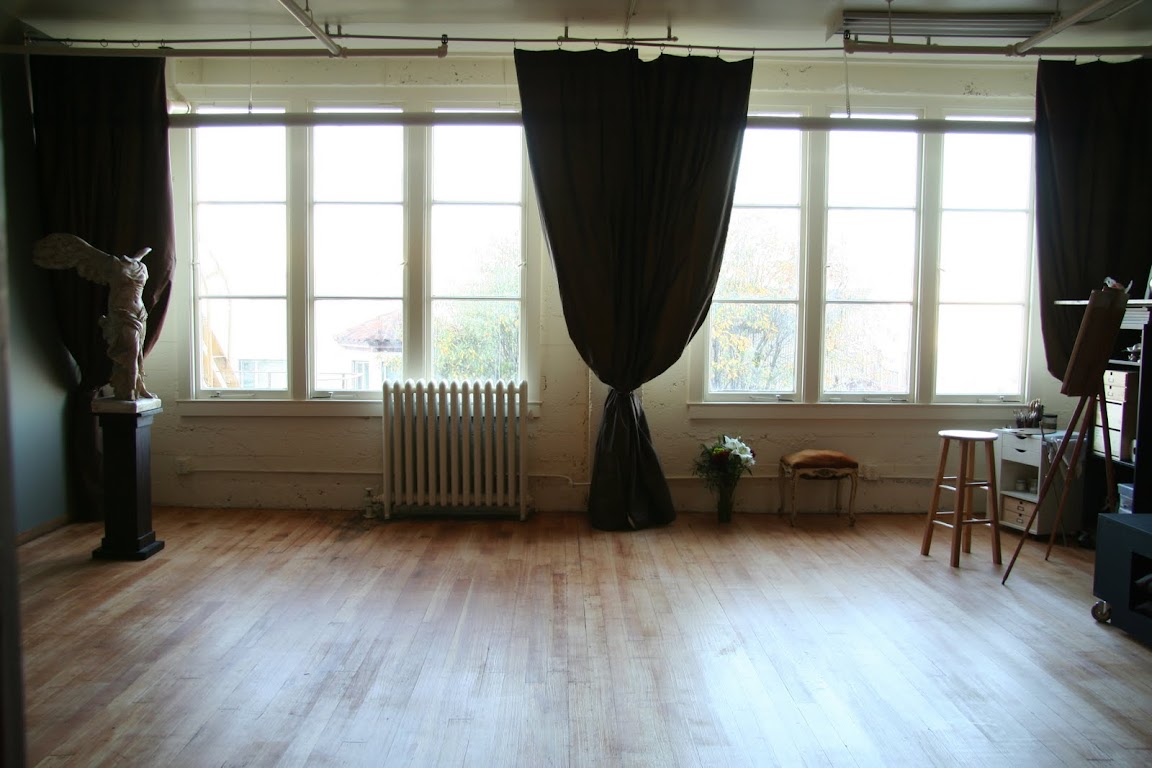
 This is my personal studio easel, I love it:
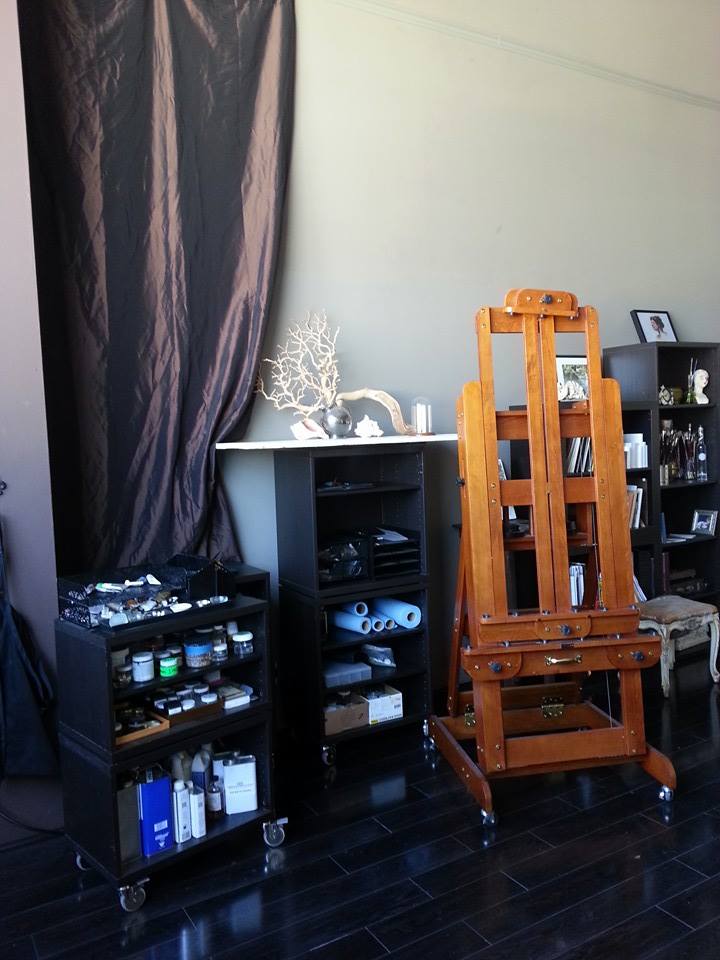


;)

;)


