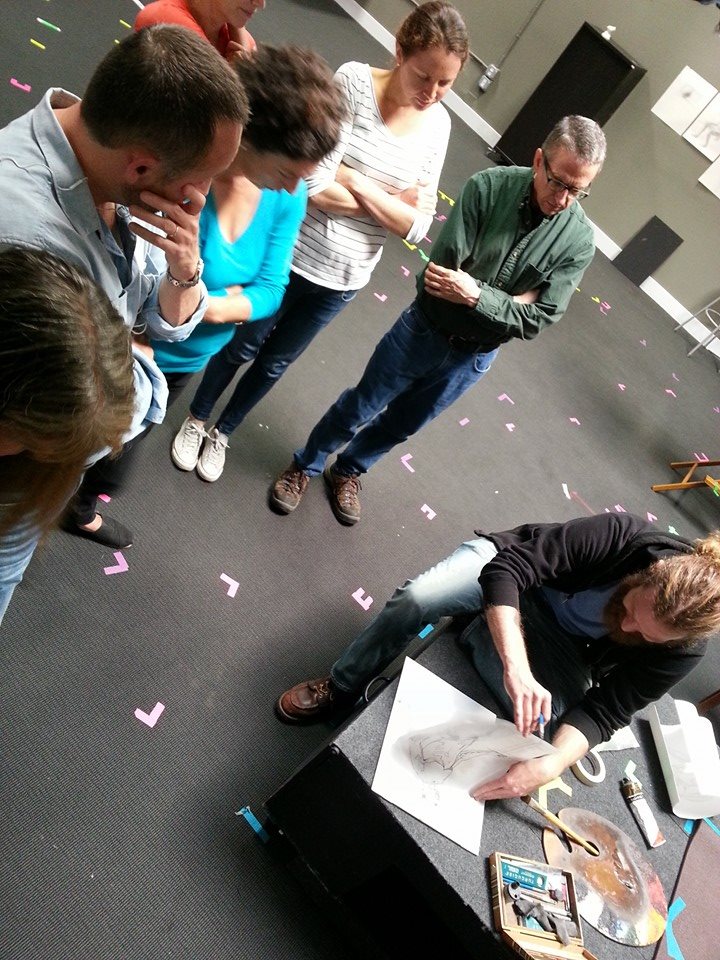
Oil Transfer: Demo by James Edmonds
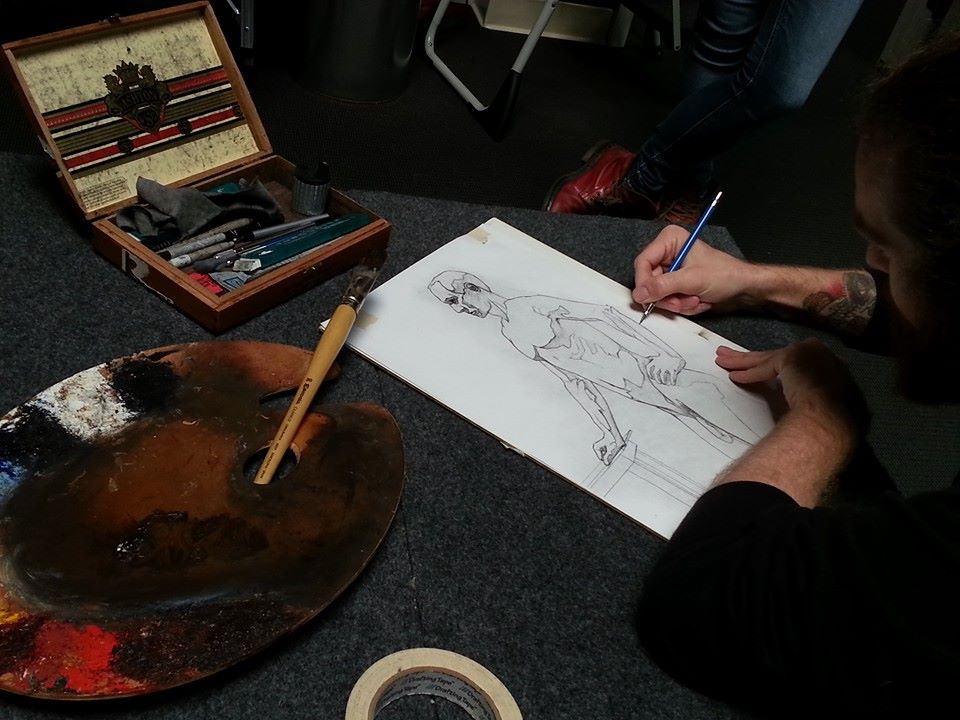 James Edmonds showed us how to transfer a drawing to a primed painting panel with oil paint.
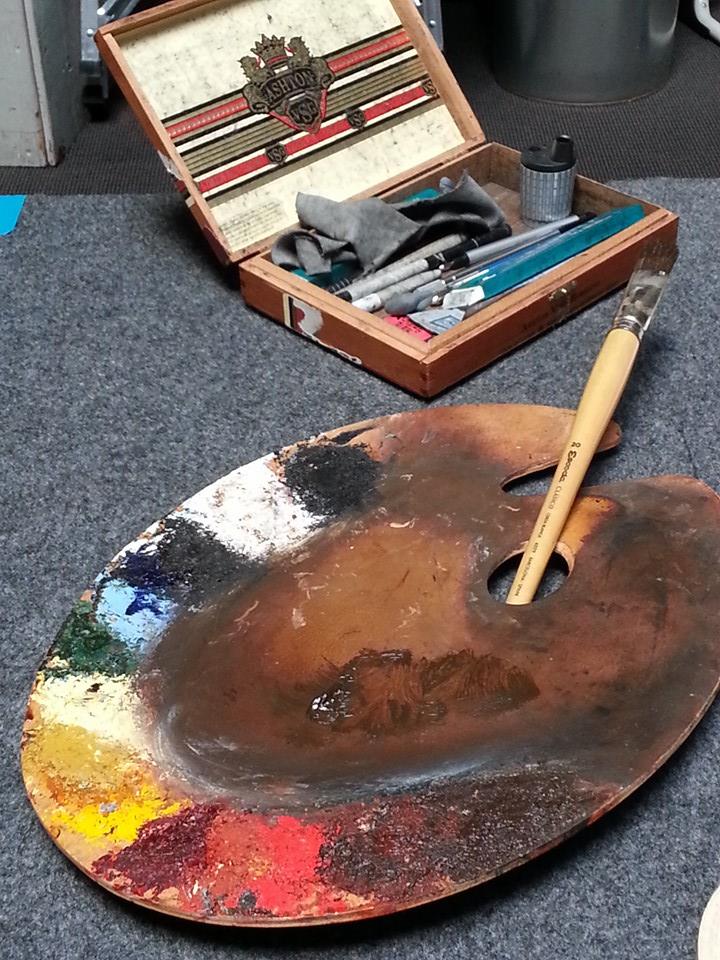
James Edmonds’ Demo:
“The following steps will take you through the process of transferring a drawing to a support with oil paint. This method ensures that your transfer will play nice with your painting because they will both be in the same medium.”
“I usually use raw umber or burnt umber for these because it dries quickly. The sooner its dry, the sooner I can start painting without effecting the lines. However, if you don’t mind painting into your lines while they’re still wet, feel free to use whatever color you wish.
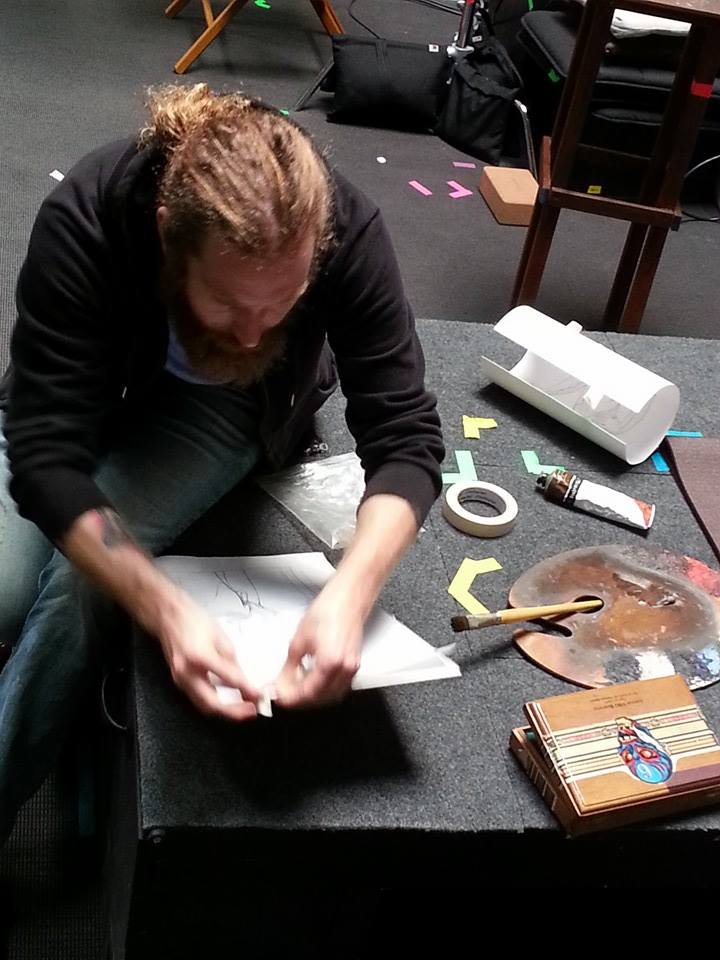
“The first step is to make a basic photocopy of your drawing. Yep, a cheap ten cent copy from OfficeMax will do the job just fine.
“When making your photocopy, it’s usually a good idea to change the copiers settings to as dark as possible. Sometimes the default setting doesn’t copy lighter graphite lines. Proceed to grab a drawing implement from your kit.
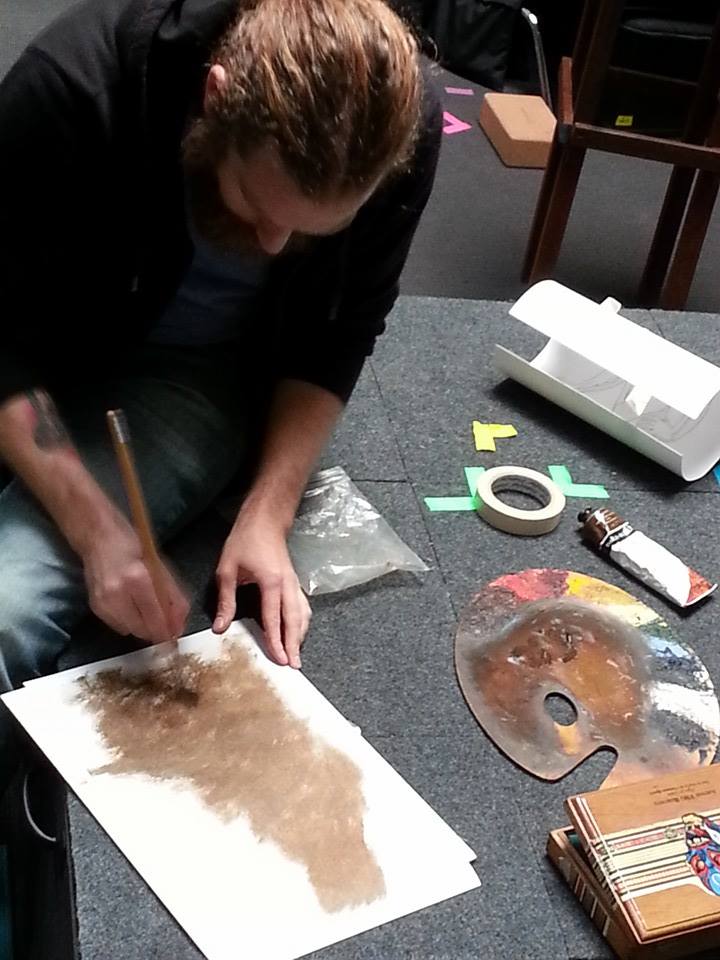
“Start by applying a thin layer of paint from the tube. Don’t thin it with anything (turp, etc). You want this layer of paint to be as thin and dry as possible. Too much paint will soak through the paper and deposit excess paint on your surface. Use as little paint as possible to cover and really brush it around.
“Hold it up to the light to make sure you get total coverage. Really brush it around. If you’ve done this correctly, the paper will absorb some of the oil from the paint and give it a slightly dry feel. This makes it so the paint will only go where you tell it to go. It shouldn’t transfer to the panel from say, the pressure of your hand on the surface, for instance.
Now tape that paint covered photocopy to your support.
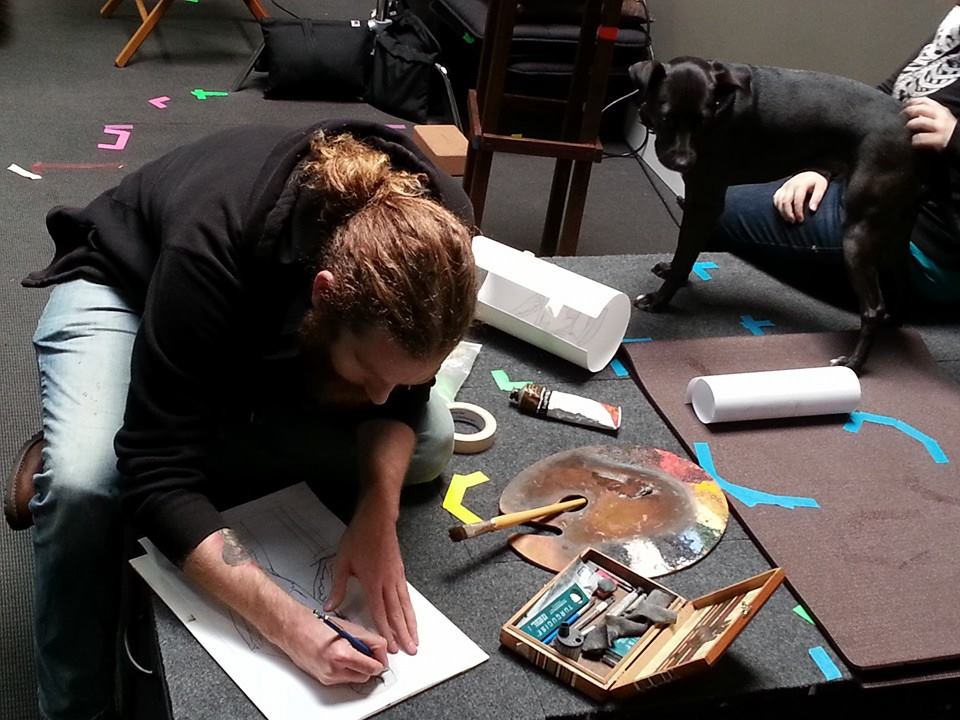
“Start tracing over your lines. Here I’m using just a regular H lead pencil, but it can be helpful to use something like a red pen so that you can tell what you’ve traced and what you haven’t.
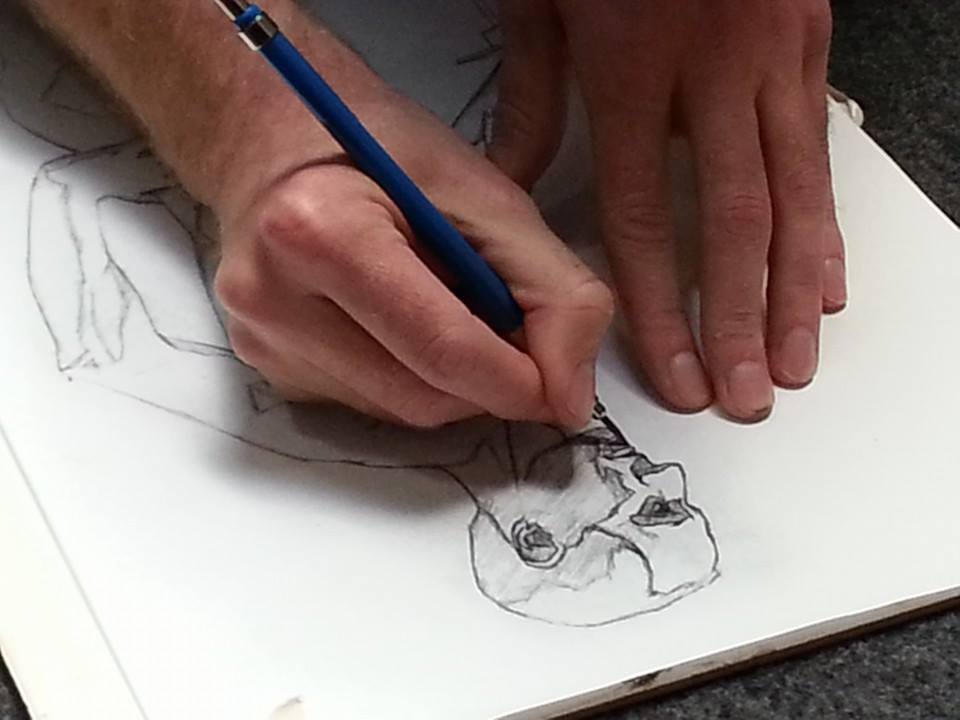
“Don’t press too hard or you run the risk of damaging your painting surface. Start lightly and try it out until you find just enough pressure to transfer the lines and no more.
“Routinely lift the drawing to make sure your lines are coming through okay. Just make sure you get it lined back up properly before continuing. Registration marks are your friend here.
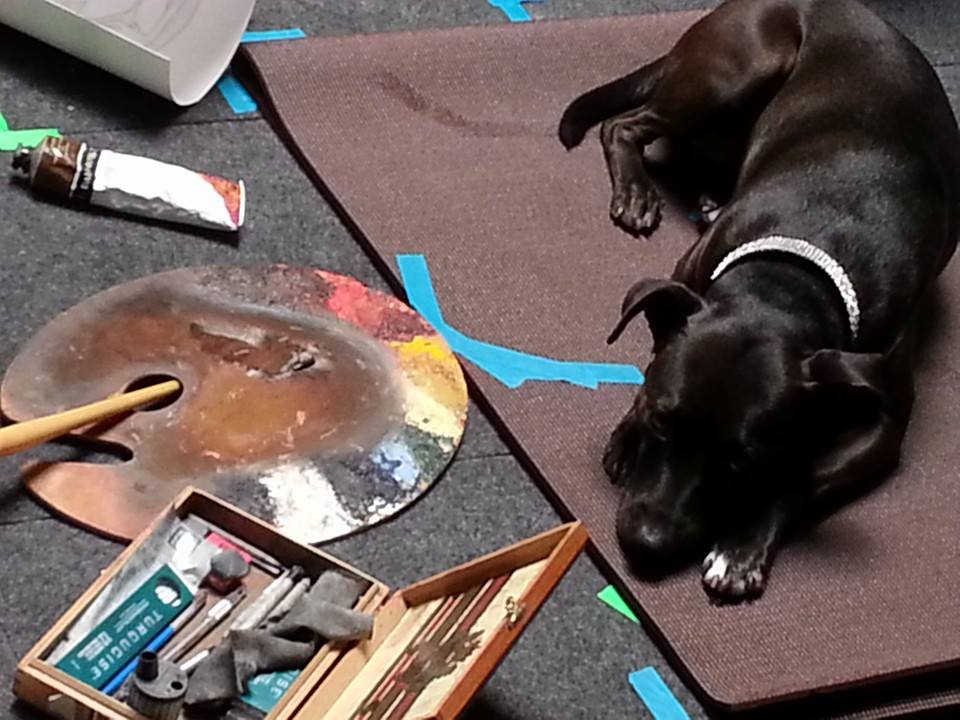
(Animal companions are a great addition to this process. Just don’t let them step on your palette!)
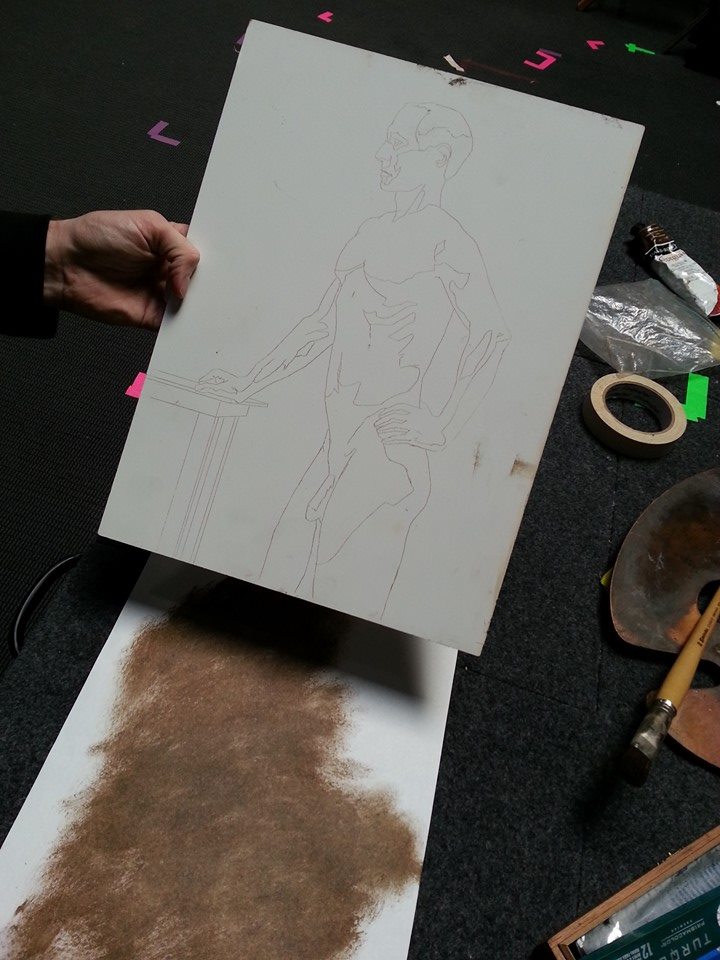
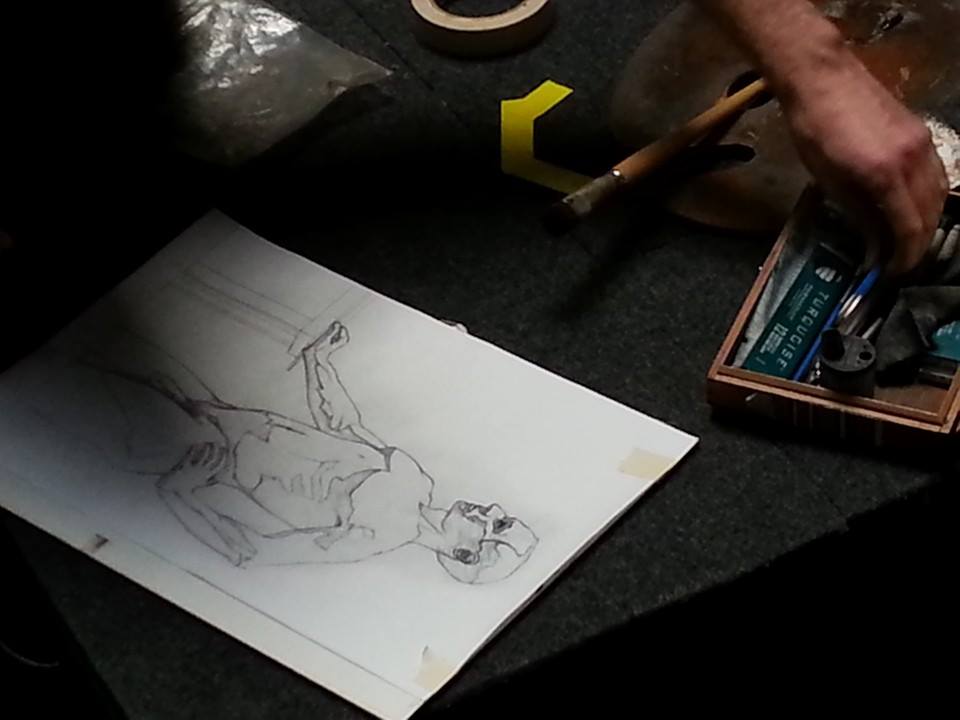
“All this should leave you with a nice clean drawing in thin paint on your surface. I use this technique to lay down lines for the majority of my studio paintings.”
Thanks for the demo, James!
 View Printer Friendly Version
Reader Comments (1)
Thanks for nice posts!